You wake up to amazing weather outside your window. You decide that today you’re going out to photograph the streets. You pack your bag and head out to look for interesting moments. You walk along empty streets and then less empty ones, looking at different buildings, people, signs, cars, shadows, sunlight, patterns, colors, compositions—and at some point you no longer know where to look or what to do, because there is simply too much information. Sound familiar?
Let’s be honest: street photography can sometimes be hard to grasp—especially if you go out without a clear goal or assignment. That’s why the smartest thing is to write down a specific objective before leaving home—something you’ll go out and “hunt” today. Luckily, some people have already thought this through and written books to help others. In his book “52 Assignments: Street Photography” (“52 assignments: Street photography”), Brian Lloyd Duckett—just as the title suggests—offers 52 assignments to complete in order to improve your skills and your way of thinking. I’ve picked out five that you can apply the very next time you head out.
1. Spot the sign
Goal: six photos where a sign or notice is the most important part of the image
Every city is full of traffic signs, posters, shop windows, ads, and more. If you look closely enough, you may notice similarities between the sign and the people or objects around it. Pay attention to signs and explore different ways you could use them. Once you’ve chosen your background, wait for an element that takes the image to the next level. Sometimes you’ll need to wait a long time, but this gives you time to explore light, angles, and perspectives. If you photograph a shop window, try not to include your own reflection—shoot from a slight angle, not straight on. While a good image can be funny or even contradictory, try to avoid anything insulting when pairing a sign with a person.
2. Pick a color
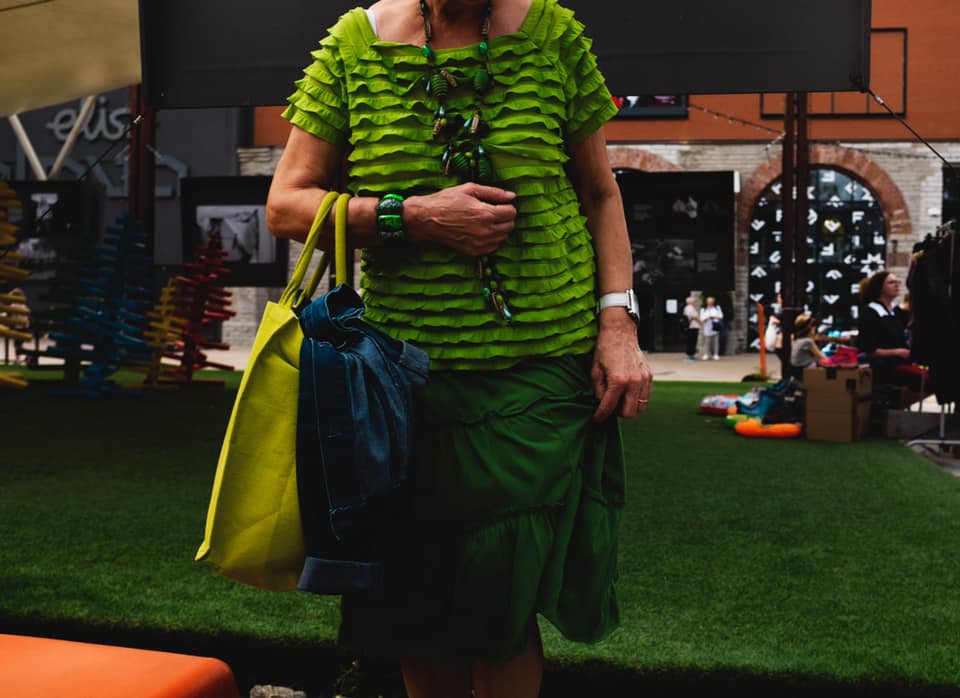
Goal: a series connected by the same color
The assignment is simple—pick one dominant color and try to find multiple subjects that feature it. When you spot your chosen color, look for something else in the same tone. If the elements are far apart, try to avoid extra visual noise in the frame. The more monotone and even the background is, the better this technique works. In post-processing, you can increase the intensity of the color to make it stand out more.
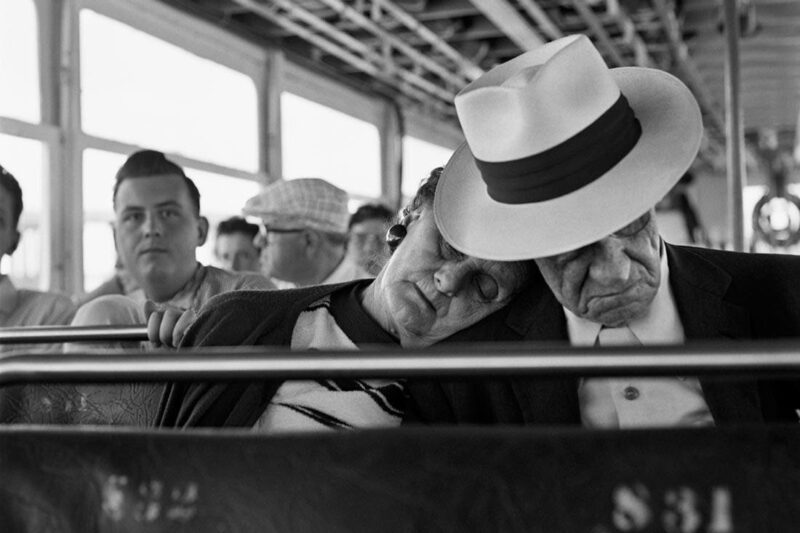
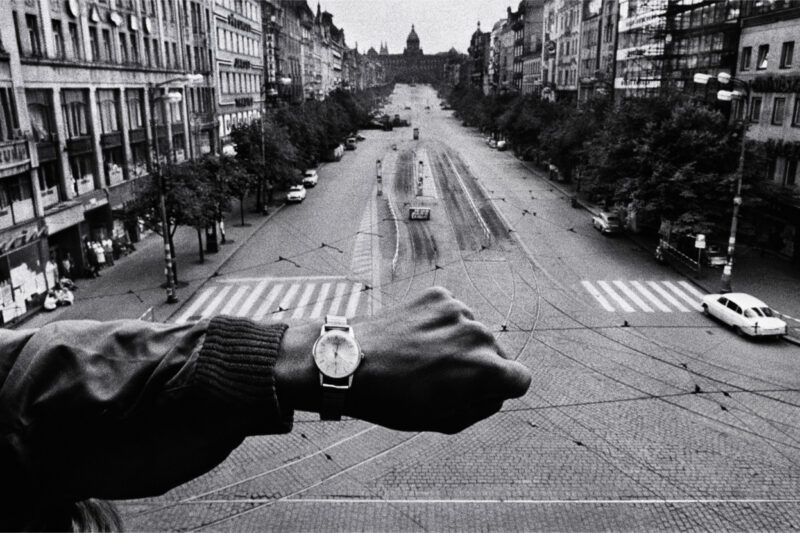
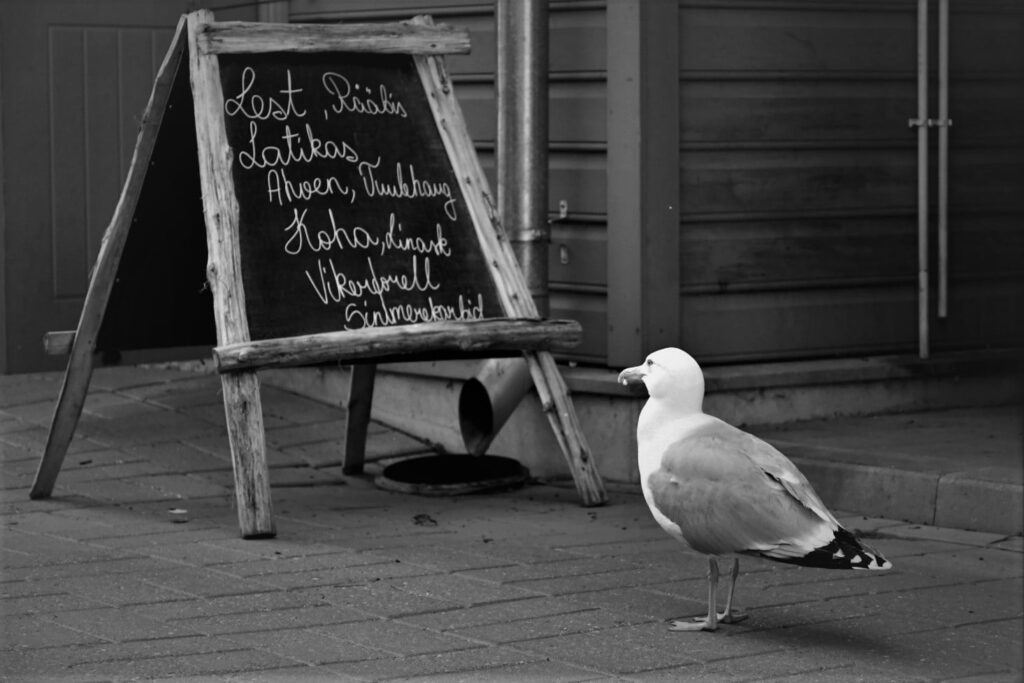
3. No shades of grey

Goal: a cohesive series of six high-contrast black-and-white images.
You can shoot in raw format to give yourself more flexibility in post-processing. Think carefully about composition: large and/or simple shapes work best. Empty areas are also an important part of the image. If your camera allows it, you can even set the viewfinder or screen to monochrome to see compositions without distracting colors.
A good time for this is early morning, when shadows are long and fewer people are around. For inspiration, look at the work of Fan Ho and Daido Moriyama.
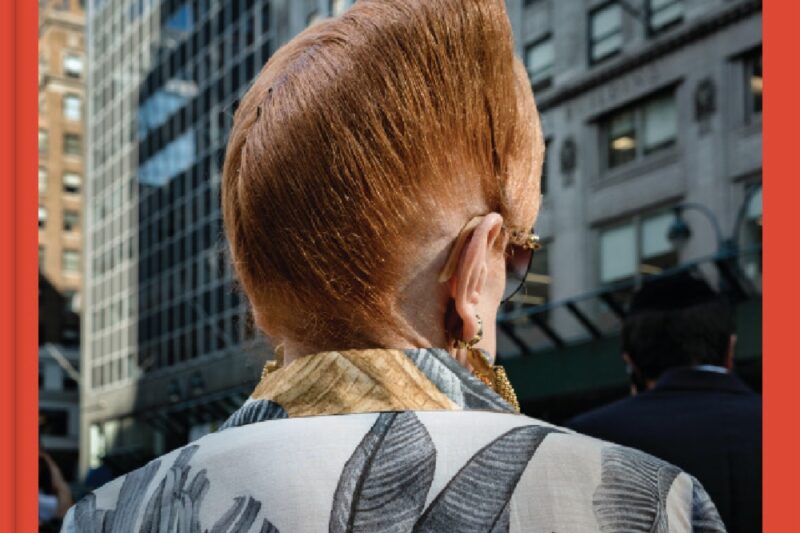
4. Catch the gaze
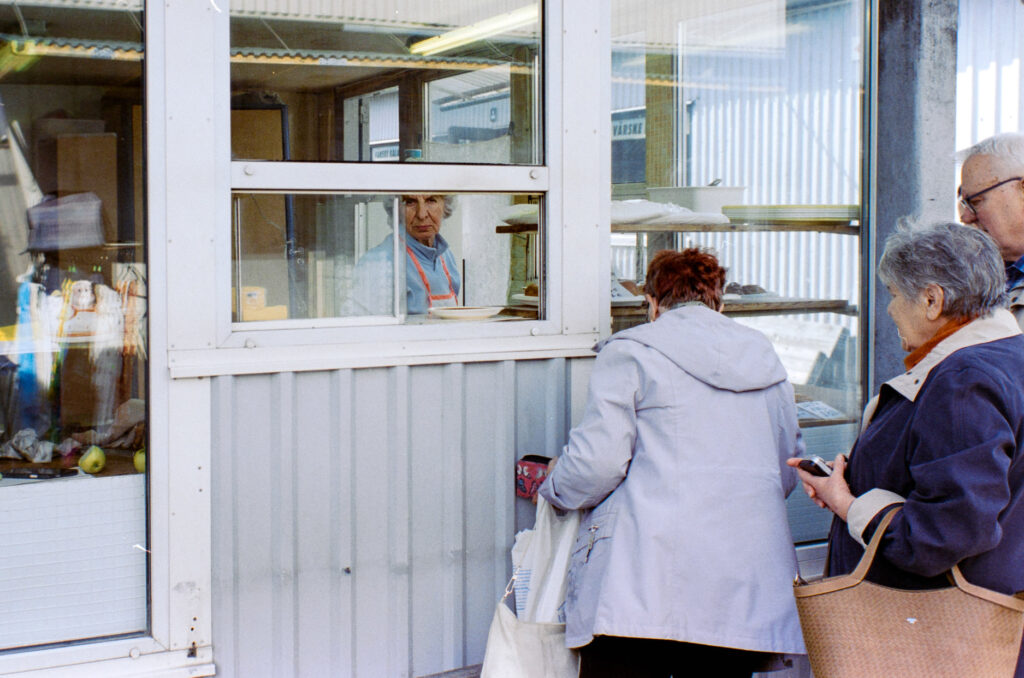
Goal: capture a direct look into the camera
Try using a lens between 28mm and 50mm. Photographing from across the street with a long lens can feel strange and suspicious. This assignment doesn’t mean someone poses for you—rather, you press the shutter the moment someone looks into the camera within your chosen composition. To get your subject’s attention, you can make a deliberate movement or even call out, but you must be quick. After you get the shot, smile and thank the person. If someone asks whether you took their photo, you can confidently admit it, because photographing in public space is completely allowed.
For examples of how eye contact can elevate a good photo into a great one, explore the work of Dougie Wallace.
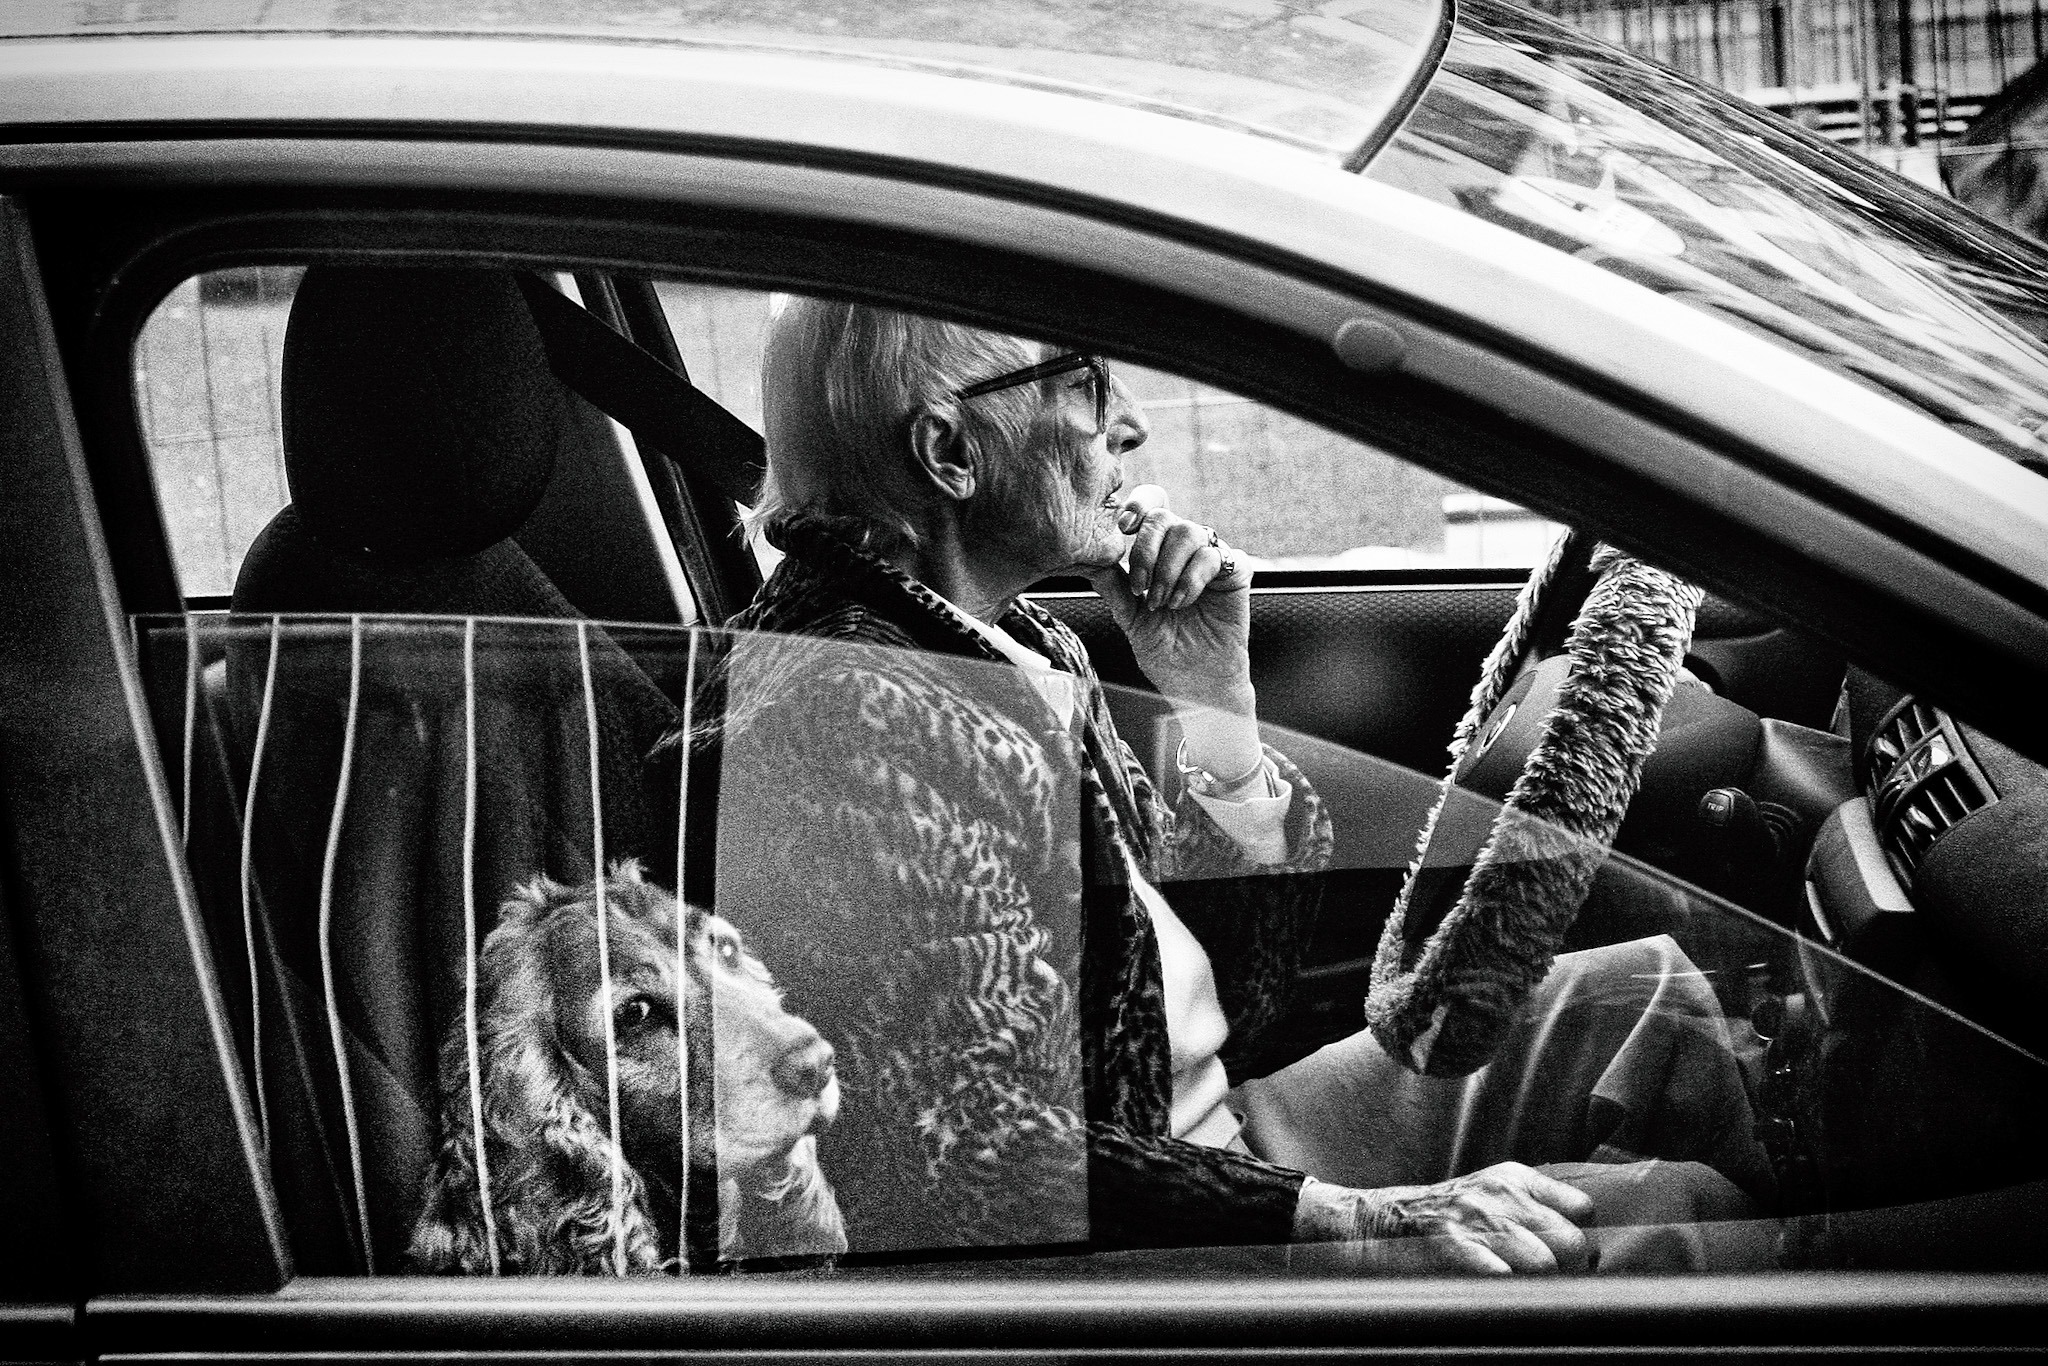
5. A dog’s life

Goal: nine 1:1-format photos of dogs that can be combined into a single grid
Dogs have long been part of street photography, and they can be great subjects. They don’t get upset when you photograph them, they look you straight in the eye, and they’re adorable. But simply walking around and taking random photos of dogs probably isn’t enough to hold a viewer’s attention for long—so the images should have a purpose. The best way to do that is to pick a theme and focus on it. For example: dogs in cars; dogs on public transport; dogs that look like their owners; dogs wearing something (hats, jackets, jewelry, shoes), etc.
Try to photograph at the animal’s eye level to create eye contact—this captures the viewer’s attention. Use as fast a shutter speed as possible, because dogs tend to move a lot.
For inspiration, look at photos by Elliott Erwitt, Dougie Wallace, and Tony Ray-Jones.
Text: Katriin Kents